Dan Gilbertsons Trackster project. "Before"
![]()
"After" The body has been repaired and repainted
![]()
A look at the underside where axles attached
![]()
Finished product Front View
![]()
Finished product Side View
![]()
Finished product Rear View
![]()
|
Dan Gilbertsons Trackster project. "Before" |
|
|
"After" The body has been repaired and repainted |
|
|
A look at the underside where axles attached |
|
|
Finished product Front View |
|
|
Finished product Side View |
|
|
Finished product Rear View |
|
Trackster Resurrection
By Dan Gilbertson
This project took about 6 months to complete. To begin, I had to build the tools for the Trackster overhaul project. I required a number of tools such as, the power train lift bar, sprocket knockoff and a couple tools that aren't in the book but are a big help like an engine hub removal tool that you use with a impact gun and a power train stand so that you have someplace to put the engine/tranny combo and be able to roll it around. The one I built, you were able to disassemble the power train all the way down to the engine frame and reassemble everything at about waist level. I even started the engine and adjusted the hydrostatics before I put the power train back in the body.
Another thing that was a time saver was "Rhino Liner." This is a product that you can buy at your automotive paint supply store. The gun is about $25 and a quart of urethane is about $40. I used this to cover up the floor and cargo area of the Trackster. It makes a great non-slip moisture barrier in an area, like my machine, that was heavily scratched and chipped and would have been too much work to refinish in gel coat.
Do all your heavy fiberglass repairs of cracks and holes first. If you're familiar with fiber glassing, another plus is to bed the axles. The factory shins are weak permitting debris to get in-between the body and axle. The debris causes the seams to loosen up allowing the mount bolts to elongate and cause cracks. I've bedded the axles by coating the painted or powder coated axles with a wax release agent then gooped on a resin chop mix in the areas where the two surfaces nest on the sides of the body. Make sure you retain at least two original axle bolt holes in the bottom of the body one on each side to maintain the axle alignment. Then, firmly press down on the axle, put your two bolts through the axle flanges and body. These bolts should also be coated with wax in case the wet resin squeezes into this area. You want to be able to tap the bolts out after the resin is hard. Once the bolts are in, put a little weight on the axles till the resin is cured. After the mix is hard, tap out the bolts and tap off the axle. Fill in any bubbles or voids with more mix. Once cured, grind down the mix flat so that there's about 1/16+ inch between the side axle flanges and new bedding on the body on both sides. Use the axle and two bolts to gauge this. After an even flat 1/16+ inch has been removed from both sides of the body, overlay some 1/4 weave fiberglass cloth and apply the resin. When this is cured, lay the axle back on the body. You should have a snug fit. Insert your two bolts with nuts and back drill the remaining axle mount holes to 5/16. This will give you a stronger thicker surface to bolt your axles to.
Roy's Trackster Restoration Project
Before (32K) 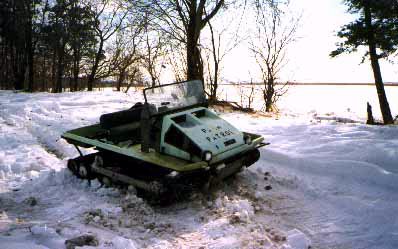
After (33K) 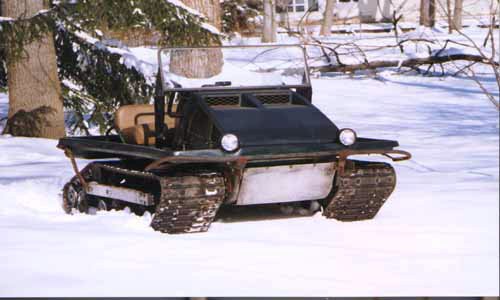
Trackster In Brainerd, MN
Lake Shore Trackster (23K) 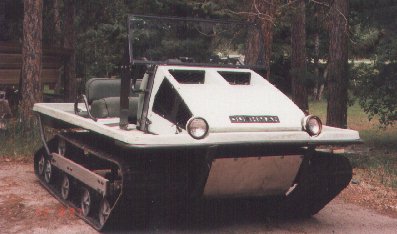
Marsh Model Amphibious Trackster With After Market Roll Cage
Beware! Big B&W Image(110K) 
Glenn Miller's Diesel Trackster (write Glenn from the "Trackster Owners on the Net" page)
Front View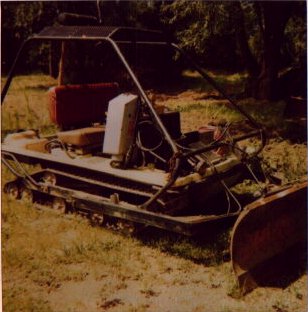
Engine Compartment
Back View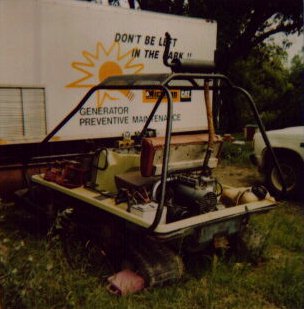
Drive Shaft Area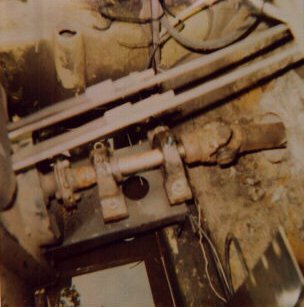
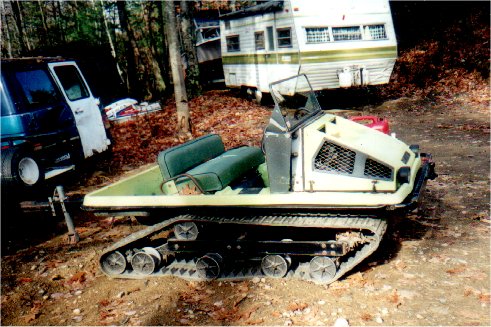
Pictures from Steven J. Atti, Trackster Restoration (write Steven from the "Trackster Owners on the Net" page)
Trackster Parade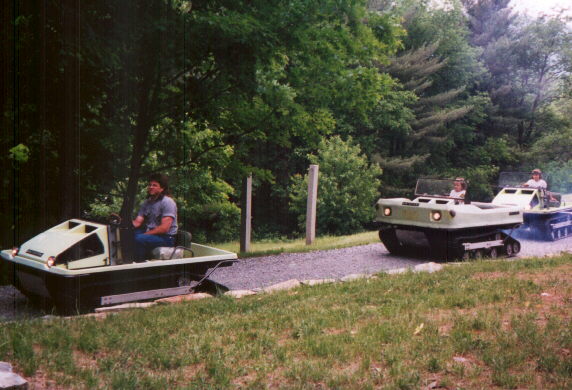
Floater Trackster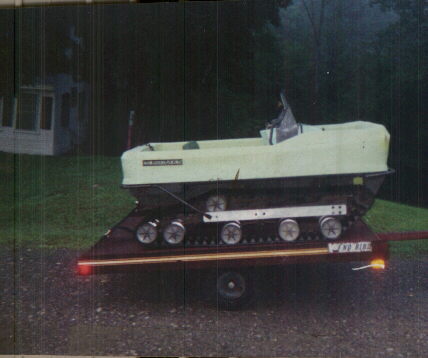
A Picture from Ed Duggin.
Camouflaged Trackster 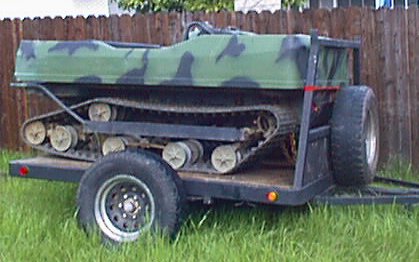
I'M MARC LETOURNEAU FROM EPSOM, NEW HAMPSHIRE. HERE ARE SOME PICS OF MY PROJECT.
ALL I HAVE LEFT TO DO IS THE RAG TOP AND REINFORCE THE TRACKS AND I'LL BE
ON THE BIG LAKE ICE FISHING
Submitted Tue, Jan. 9 2001 / Mark Letourneau
 Machine 2 Before
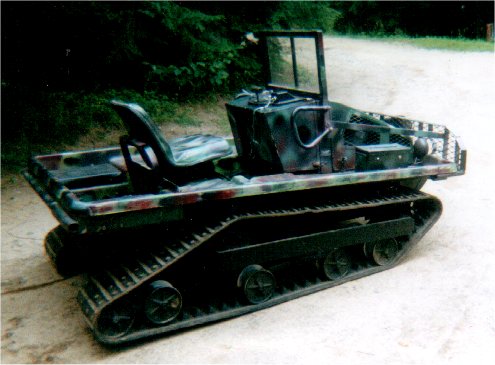 Right Side
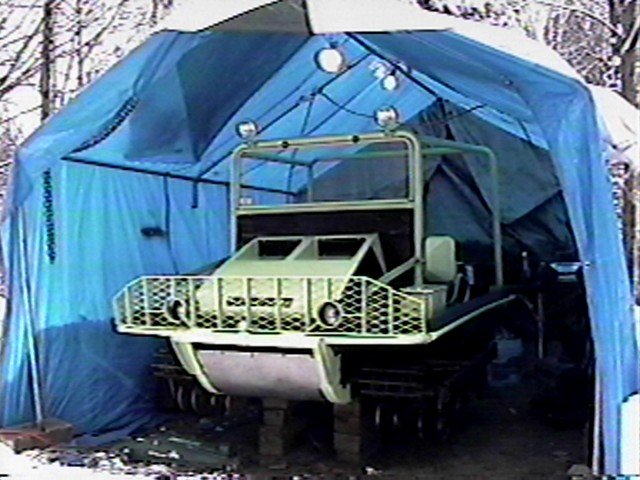 Left Side
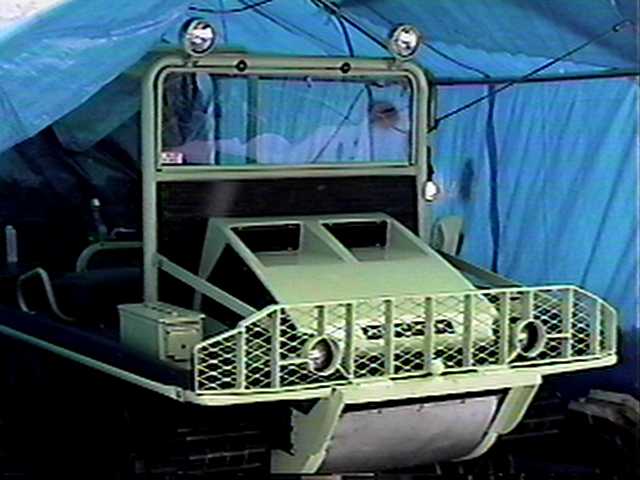 Front
Front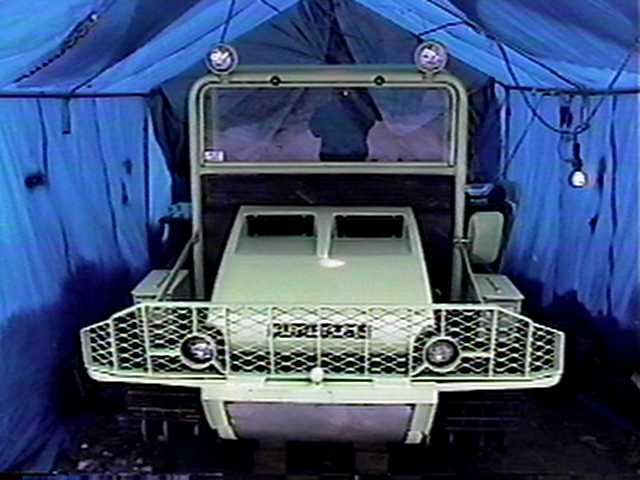 Dashboard
Here is the first MOVIE on the web site. The file is 7.7 Megabytes. Let it load up the first time (it may be jumpy) and then play it again once it's loaded on your computer.
Download Times:
45 minutes at 33.6
30 minutes at 56k
5 minutes at T1
Dick Van Hale - Crossing a River  Voice-Over by Pete Stanaitis